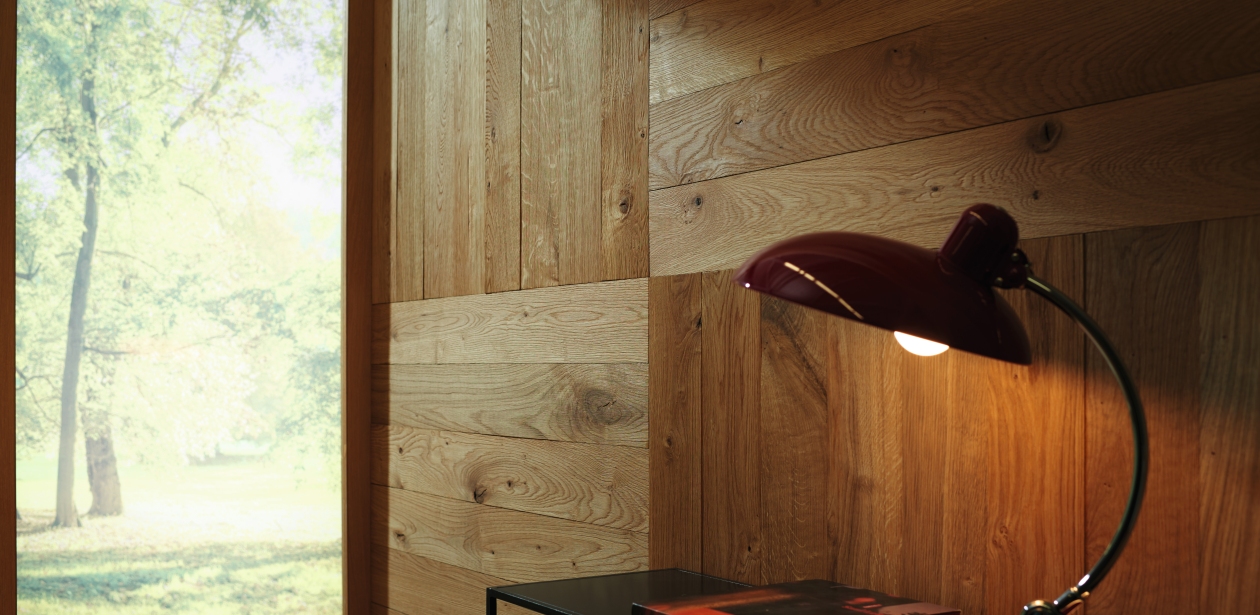
HARO Wall offers individual wall design
Learn what you need to know about installing designer wood.
Wall design with our wood panelling HARO Wall is easy for experienced DIYers. With the ready-to-use elements of design wood on the wall, you can even install larger wall surfaces in no time at all. Before the actual installation, it is important to inspect or prepare the surface to be designed. For optimal gluing results, the wall should be as flat as possible and free of residue. If the substrate is not load-bearing, you should prepare your wall optimally for the installation by pre-assembling a chipboard or plasterboard panel.
Play with shapes
You can then fully unfold your creativity in the design. The ready-made design wood elements allow a variety of installation patterns, all of which have a very special charm in their own way.
How about a herringbone pattern on the wall? No problem with HARO Wall. The elements of the Nevada design are also suitable for mixed longitudinal and transverse installation, for example. Give free rein to your creativity in wall design and create exciting contrasts in your home.


The two HARO Wall Designs Nevada and Patagonia offer plenty of scope for individual design options.


Installing design wood wall panelling
To install our modern wall cladding, all you need is a metre rule, a saw, a spirit level, a pencil and our HARO installation adhesive. This ensures a permanently firm hold and additional fixation of the wall elementsHARO Wall elements. Our adhesive is not only convincing due to its odourless curing, permanent elasticity and very good initial adhesion, but also due to its healthy living properties HARO The adhesive is free of solvents, silicones, isocyanates and plasticisers.
For easier installation, our design wood elements are provided with adhesive strips on the back. Simply peel off the protective film and the elements are ready for immediate use and can be cleanly stuck on flush with the surface.


